
Django-Q is a native Django task-queue and scheduler.
I like it because it can use your database as a data store rather than having to branch out to other tools like Redis.
And while Django-Q can handle Redis – the sites I work on have low queueing requirements.
In this post we’re going to install Django-Q.
I use pipenv for my virtual environment – but you can use pip and a venv if you like.
I’m going to assume you have a Django project all good to go and just want to install queueing.
Firstly – make sure you are in your pipenv shell and then install django-q:
pipenv shell
pipenv install django-q
Next, in your setting file – add django_q – make sure it has an underscore: django_q not django-q
INSTALLED_APPS = (
    # other apps ...
    'django_q',
)
Next migrate to create the tables:
python manage.py migrateI am using the DjangoORM (the database) to be my queue broker. This is because my requirements are low. Docs are here.
In the settings file add this:
Q_CLUSTER = {
    'name': 'DjangORM',
    'workers': 4,
    'timeout': 90,
    'retry': 120,
    'queue_limit': 50,
    'bulk': 10,
    'orm': 'default'
}
Then to start the queue run this command:
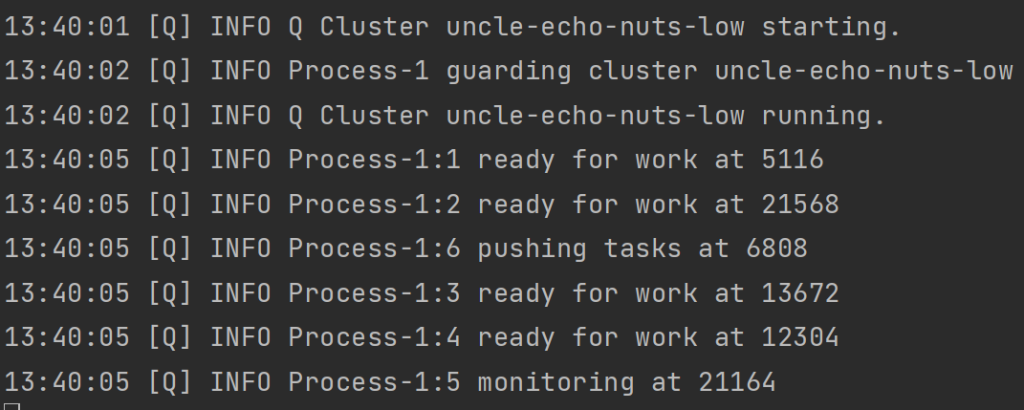
python manage.py qclusterYou will get an output like this:
Just for fun – you can also open another terminal tab, ensure you’re in your pipenv shell and type:
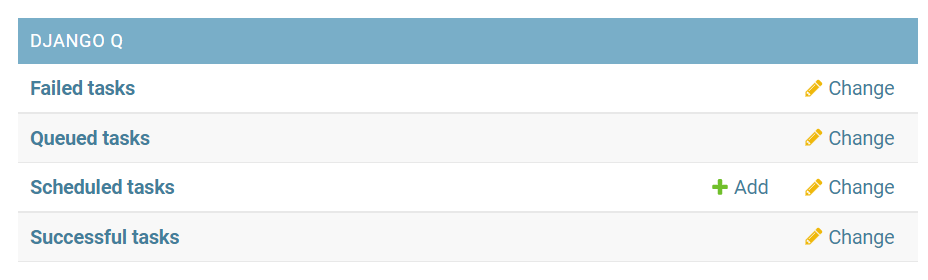
python manage.py qmonitorLogging into admin should give you this extra group of tables:
To do things with the queue in development I have one terminal running python manage.py runserver and another terminal running python manage qcluster
Then as you add tasks to the queue the qcluster terminal updates with what it’s doing.
I am usually flipping between the terminal, the admin and PyCharm (my editor) as I’m developing things dealing with the queue.
That’s it! Your queue is set up!